07 Sep 2018
A study by the World Health Organisation recently found that one pizza per day contains 99% of the recommended daily allowance of nearly all our required nutrients, vitamins and minerals. So unless you are one of the ~60% of people who are allergic or intolerant to dairy, it might be time to give up the porridge, the salads and smoothies and have pizza instead, followed by a delicious pureed pizza smoothie. But having pizza every day can get a little boring so for those of you who prefer a needlessly varied diet, read on for some inspiration!We’ve been asked to release the secret to the AmiPizza and we’re going to do just that. The AmiPizza was born out of necessity; the mother of all invention. “I had left Ireland for a holiday in Tenerife and was going to meet Johnny from Amiten TV, who kindly invited me to his home for dinner with his family. I wanted to bring something as a gift and the idea of the AmiPizza was born”
Step 1: Drink some wine (optional, but helps accuracy during later steps).
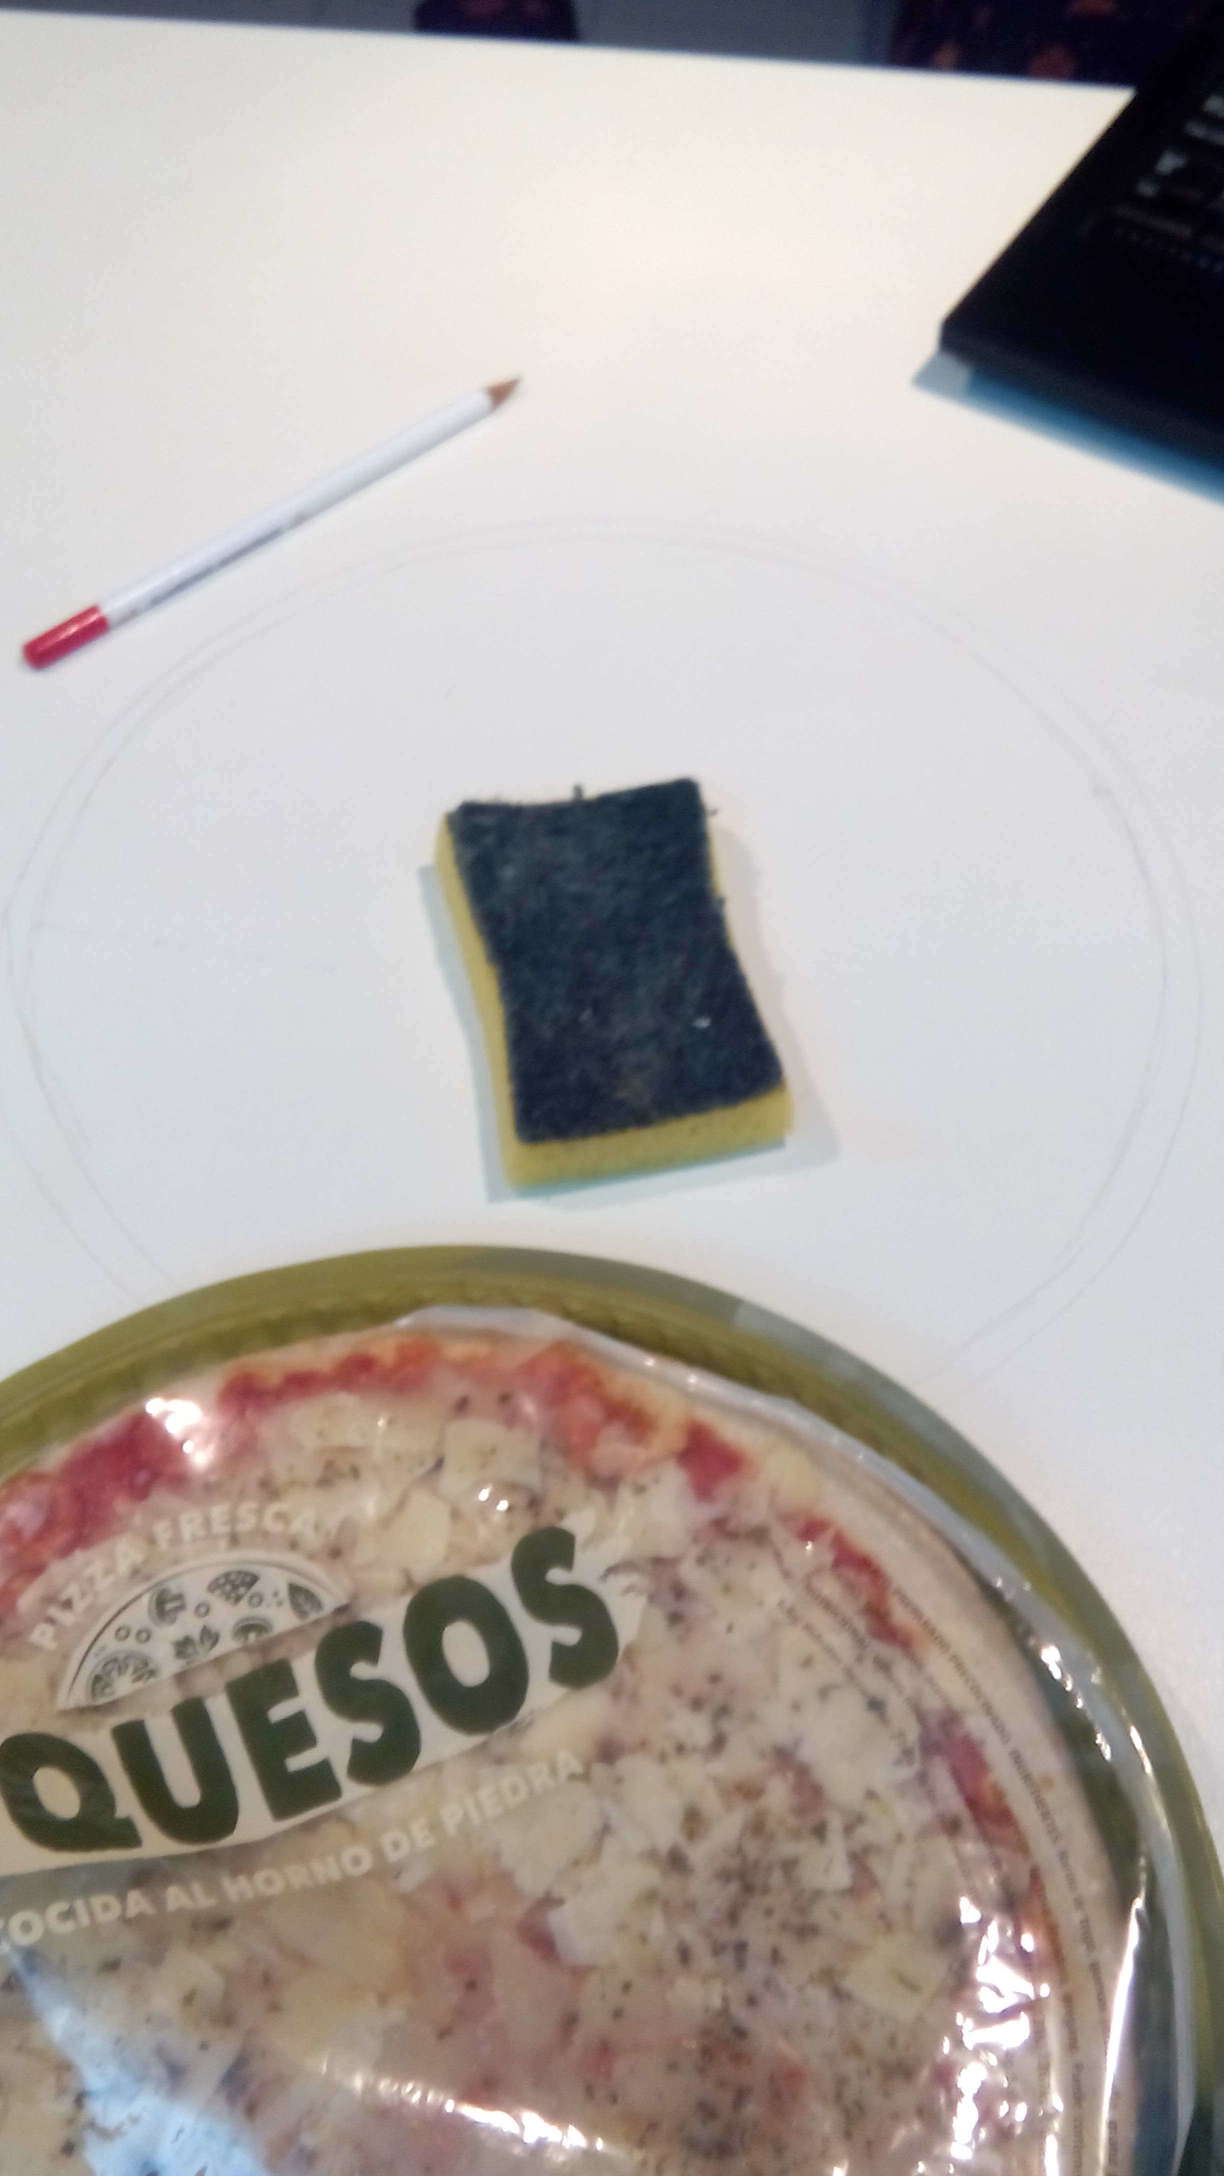
Step 2: Clean your work area and trace the outline of the pizza. The pizza here is wrapped so no lead makes contact whatsoever. But you can compensate by adding lead to the pizza later.

Step 3: Find an image of a boing-ball online.
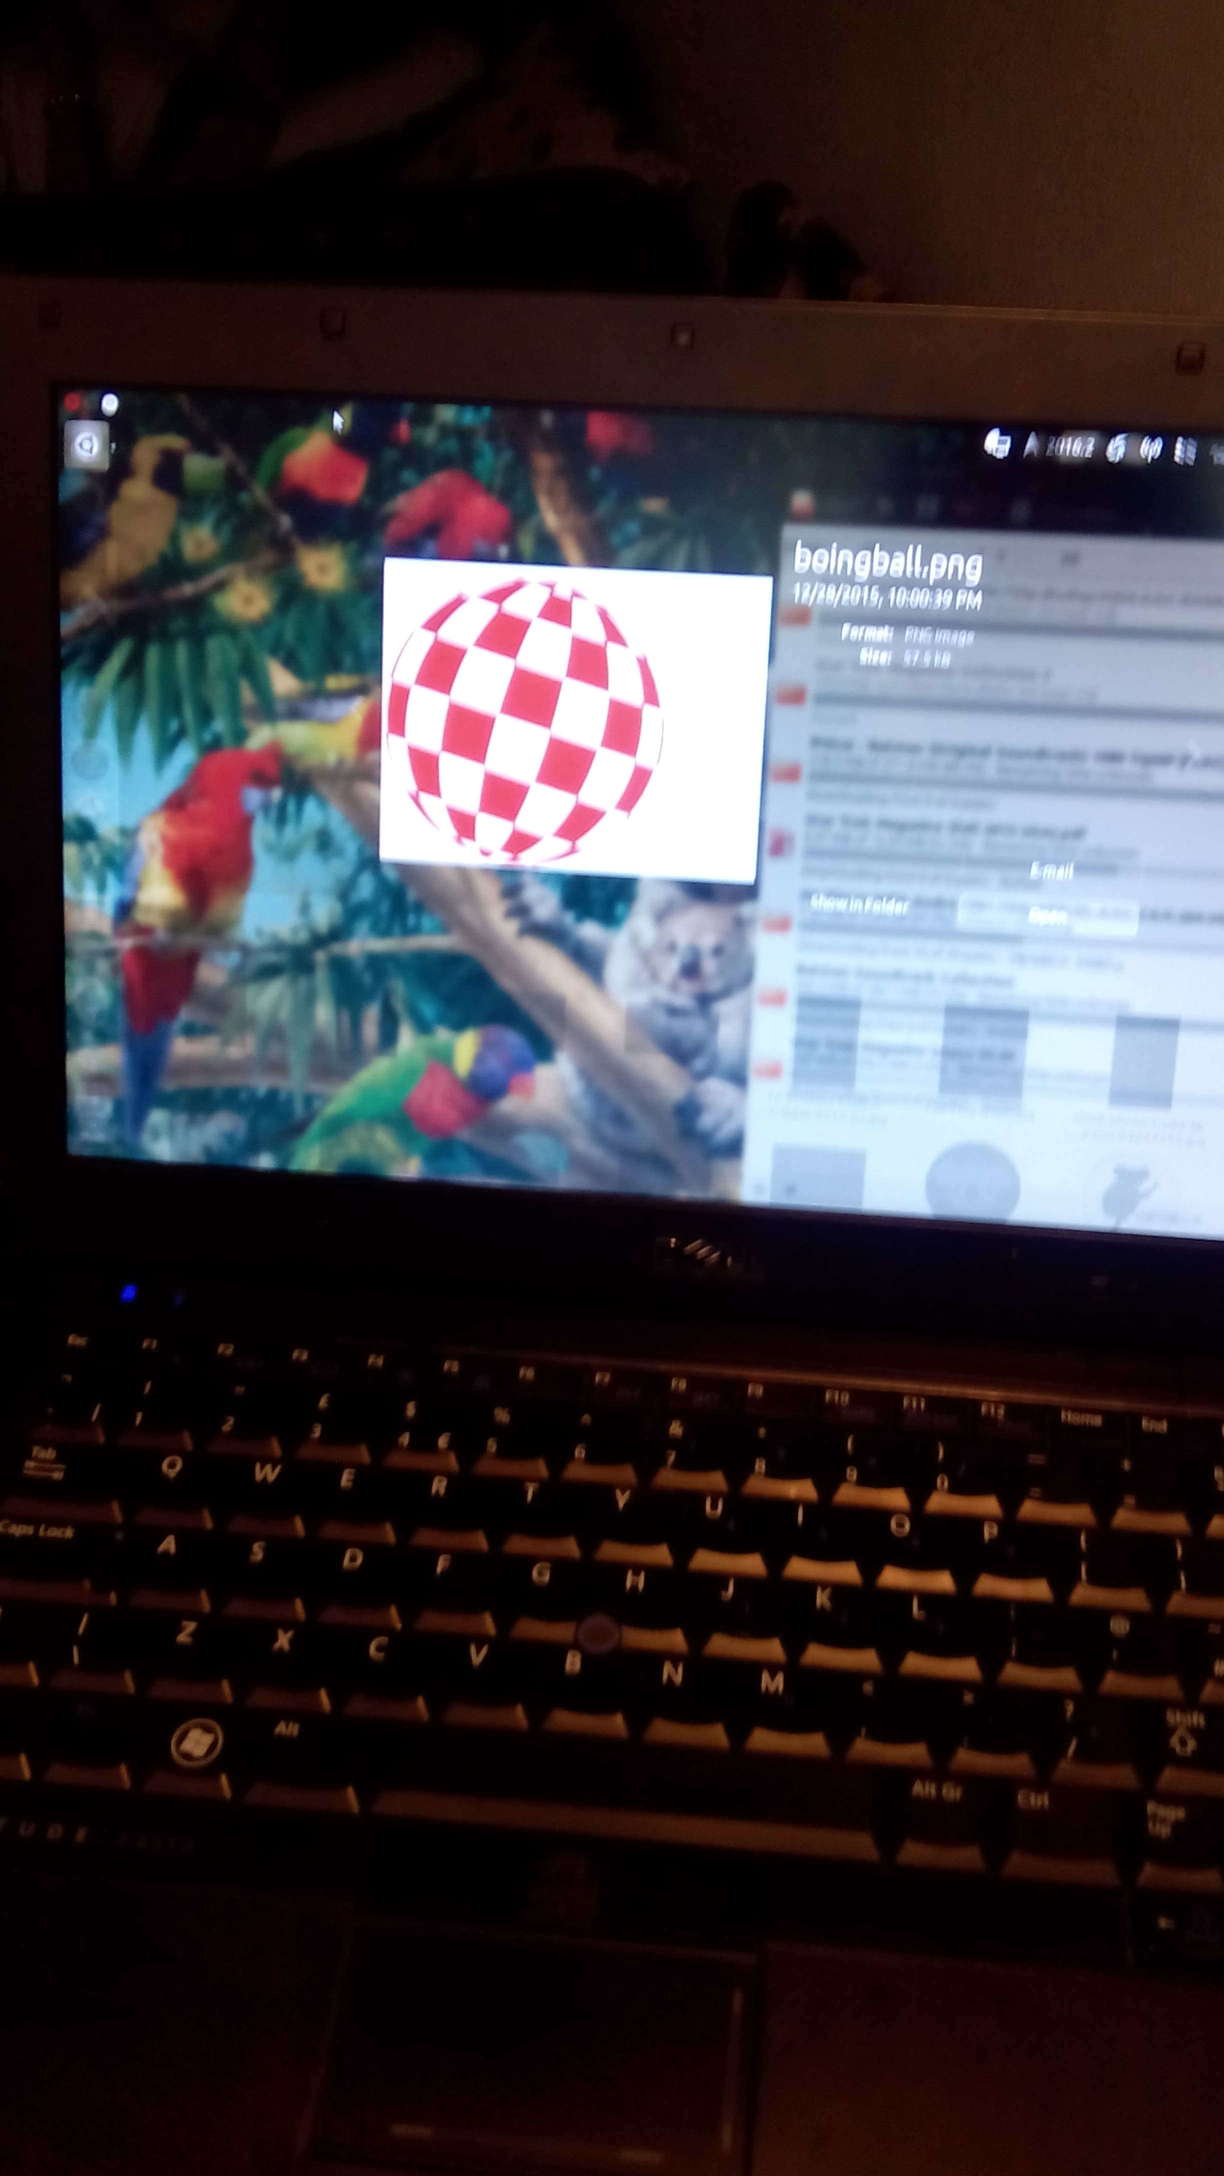
Step 4: The boing ball is difficult to draw by hand due to the curves, but if you rotate it so it is symmetrical it becomes much easier to understand and reproduce. Alternatively you could scale it up to the size of your pizza base and print it out, but we forgot to bring the printer on holidays this year.
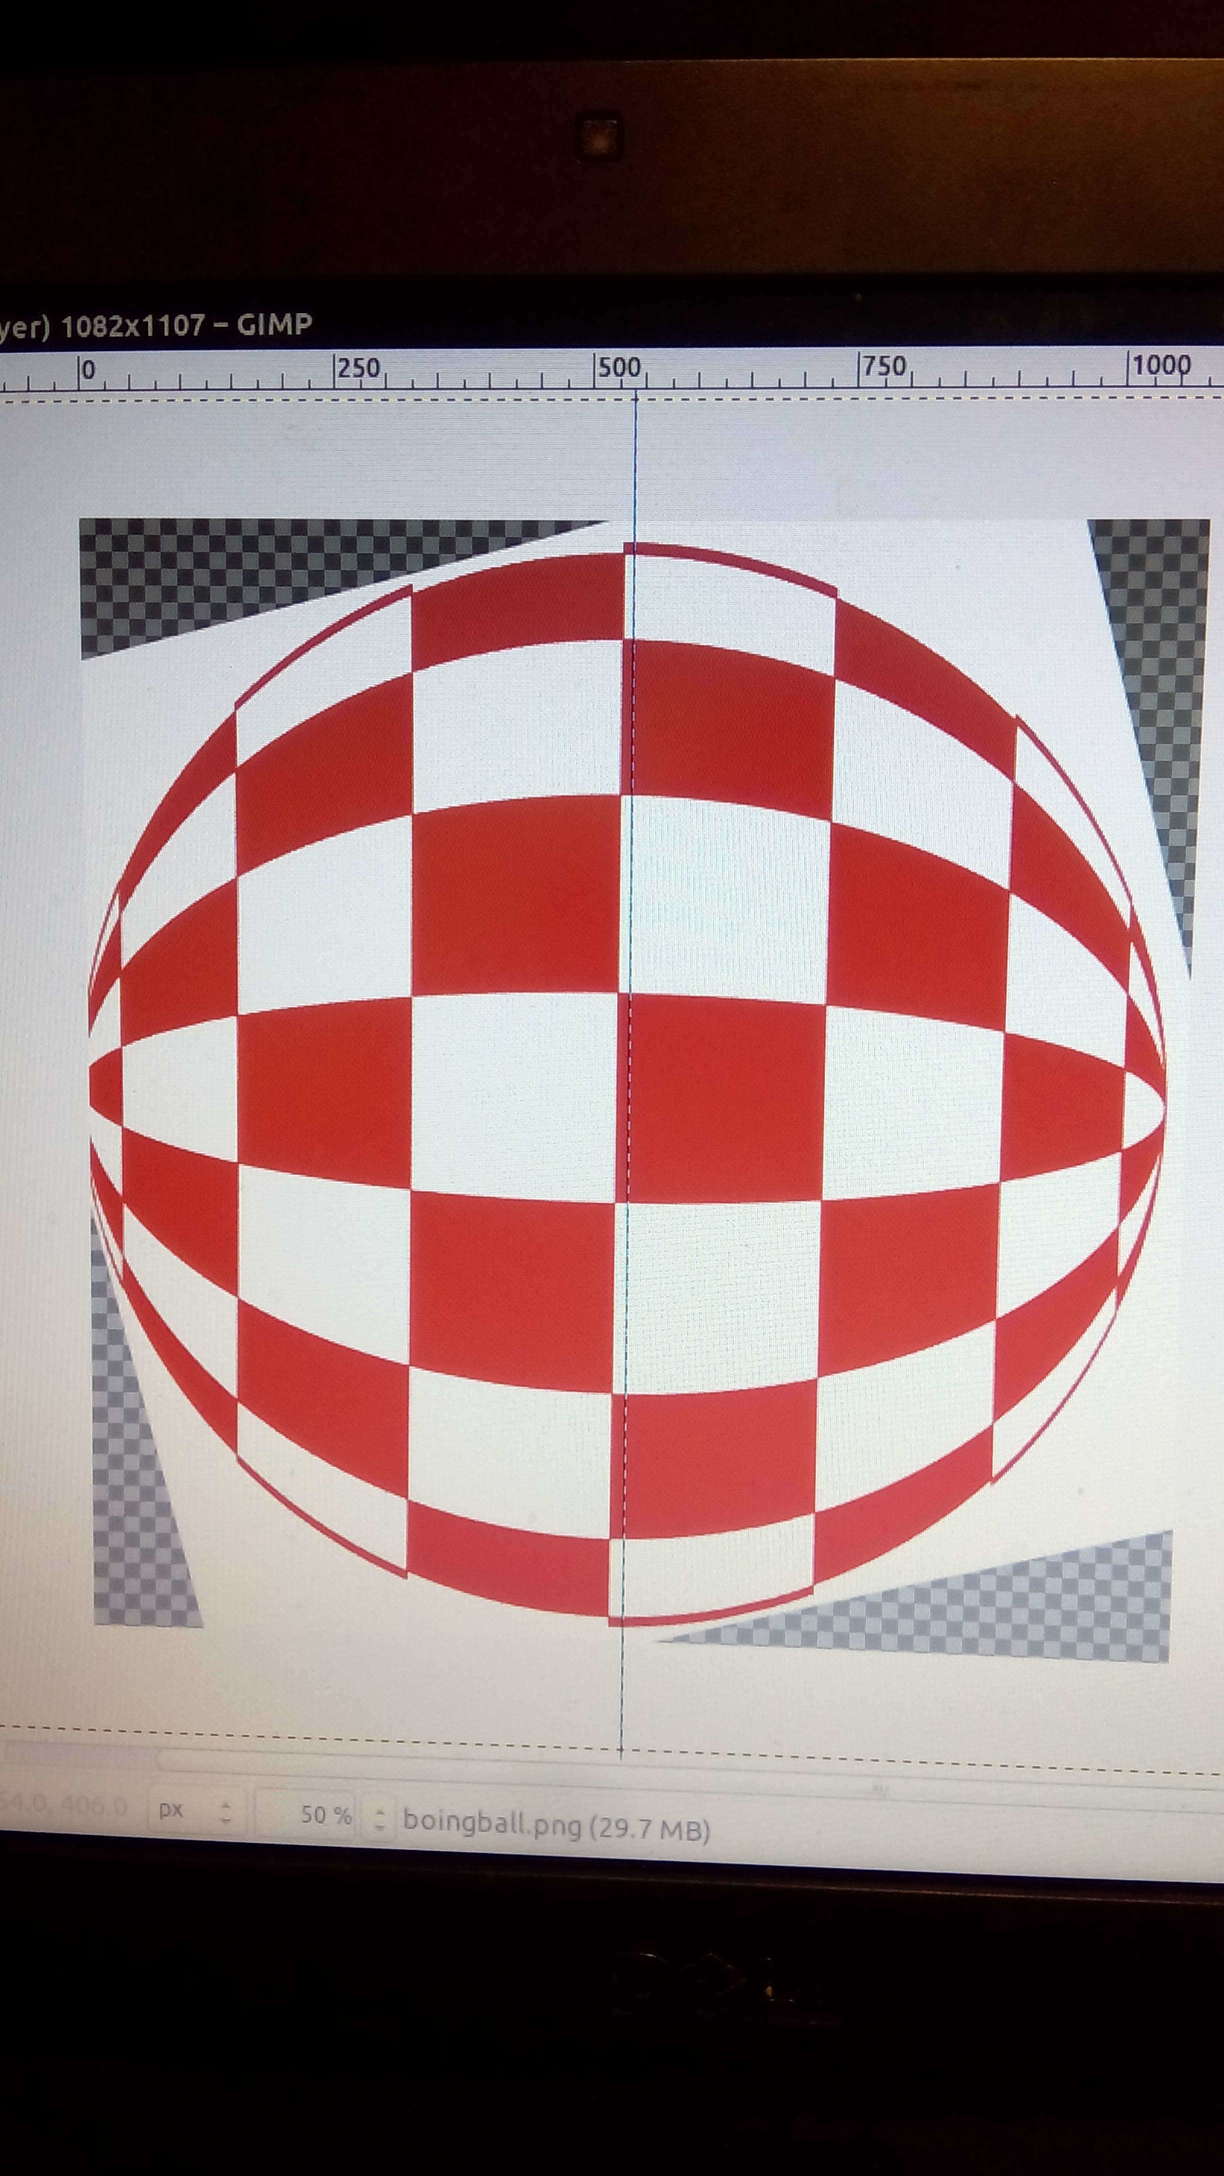
Step 5: Divide your circle into quadrants to make the process of copying easier. It’s hard to see in the photo, but the quadrant lines have smaller marks on them to represent where each curve should intersect. Not counting the outside of the circle, there are 8 lines, so 8 points of intersection. The outer ones should be closer together and the more central ones should have more space between them.
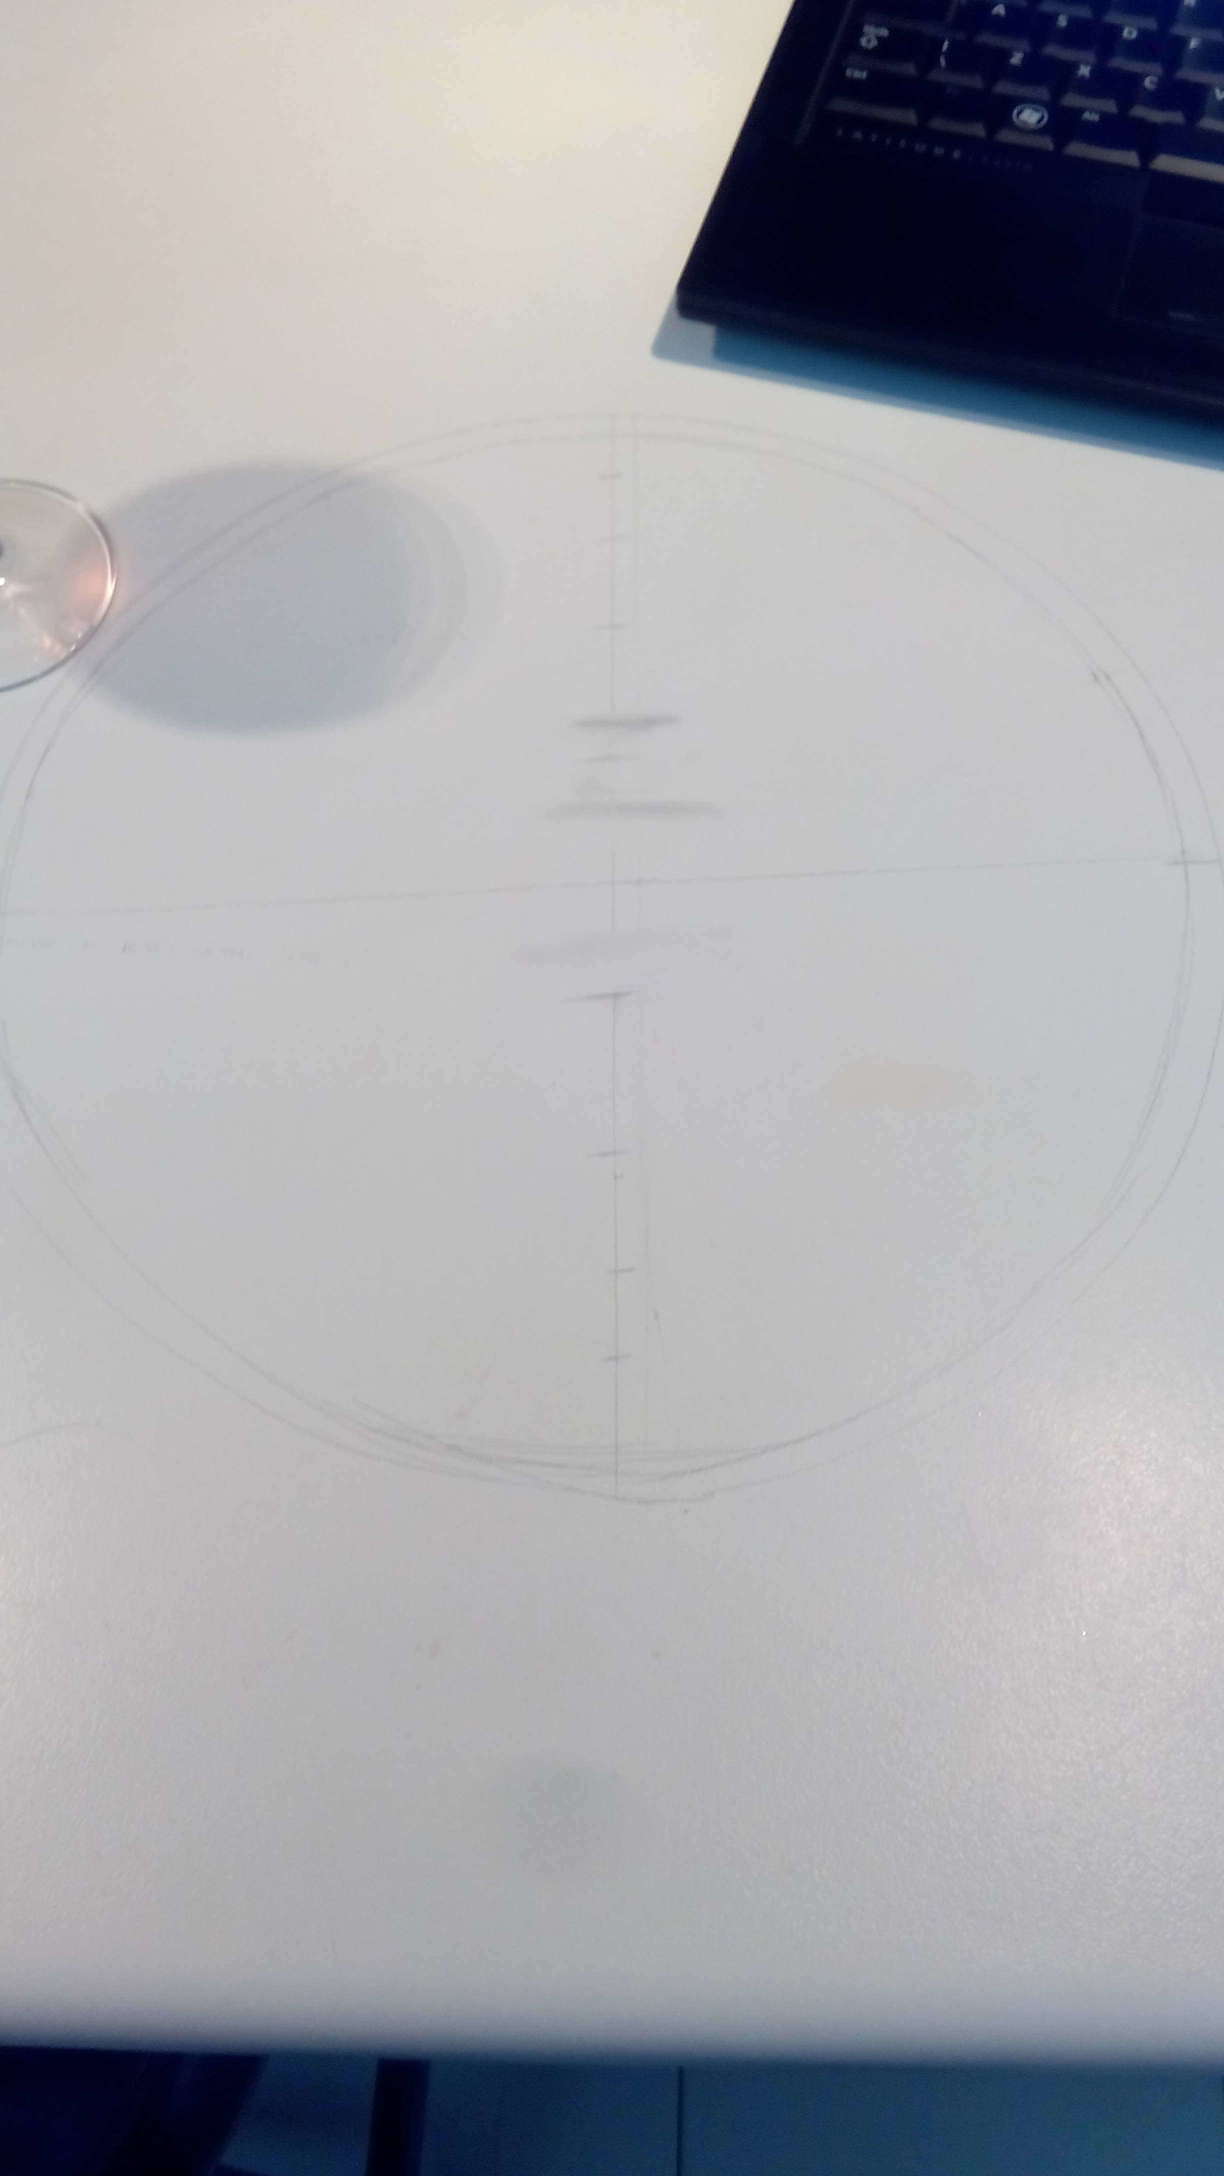
Step 6: Draw the curves. You will make mistakes, but just correct them with the pencil. Take your time and you’ll get it right. You might find the intersection points you marked don’t give a good result so feel free to change them if that happens.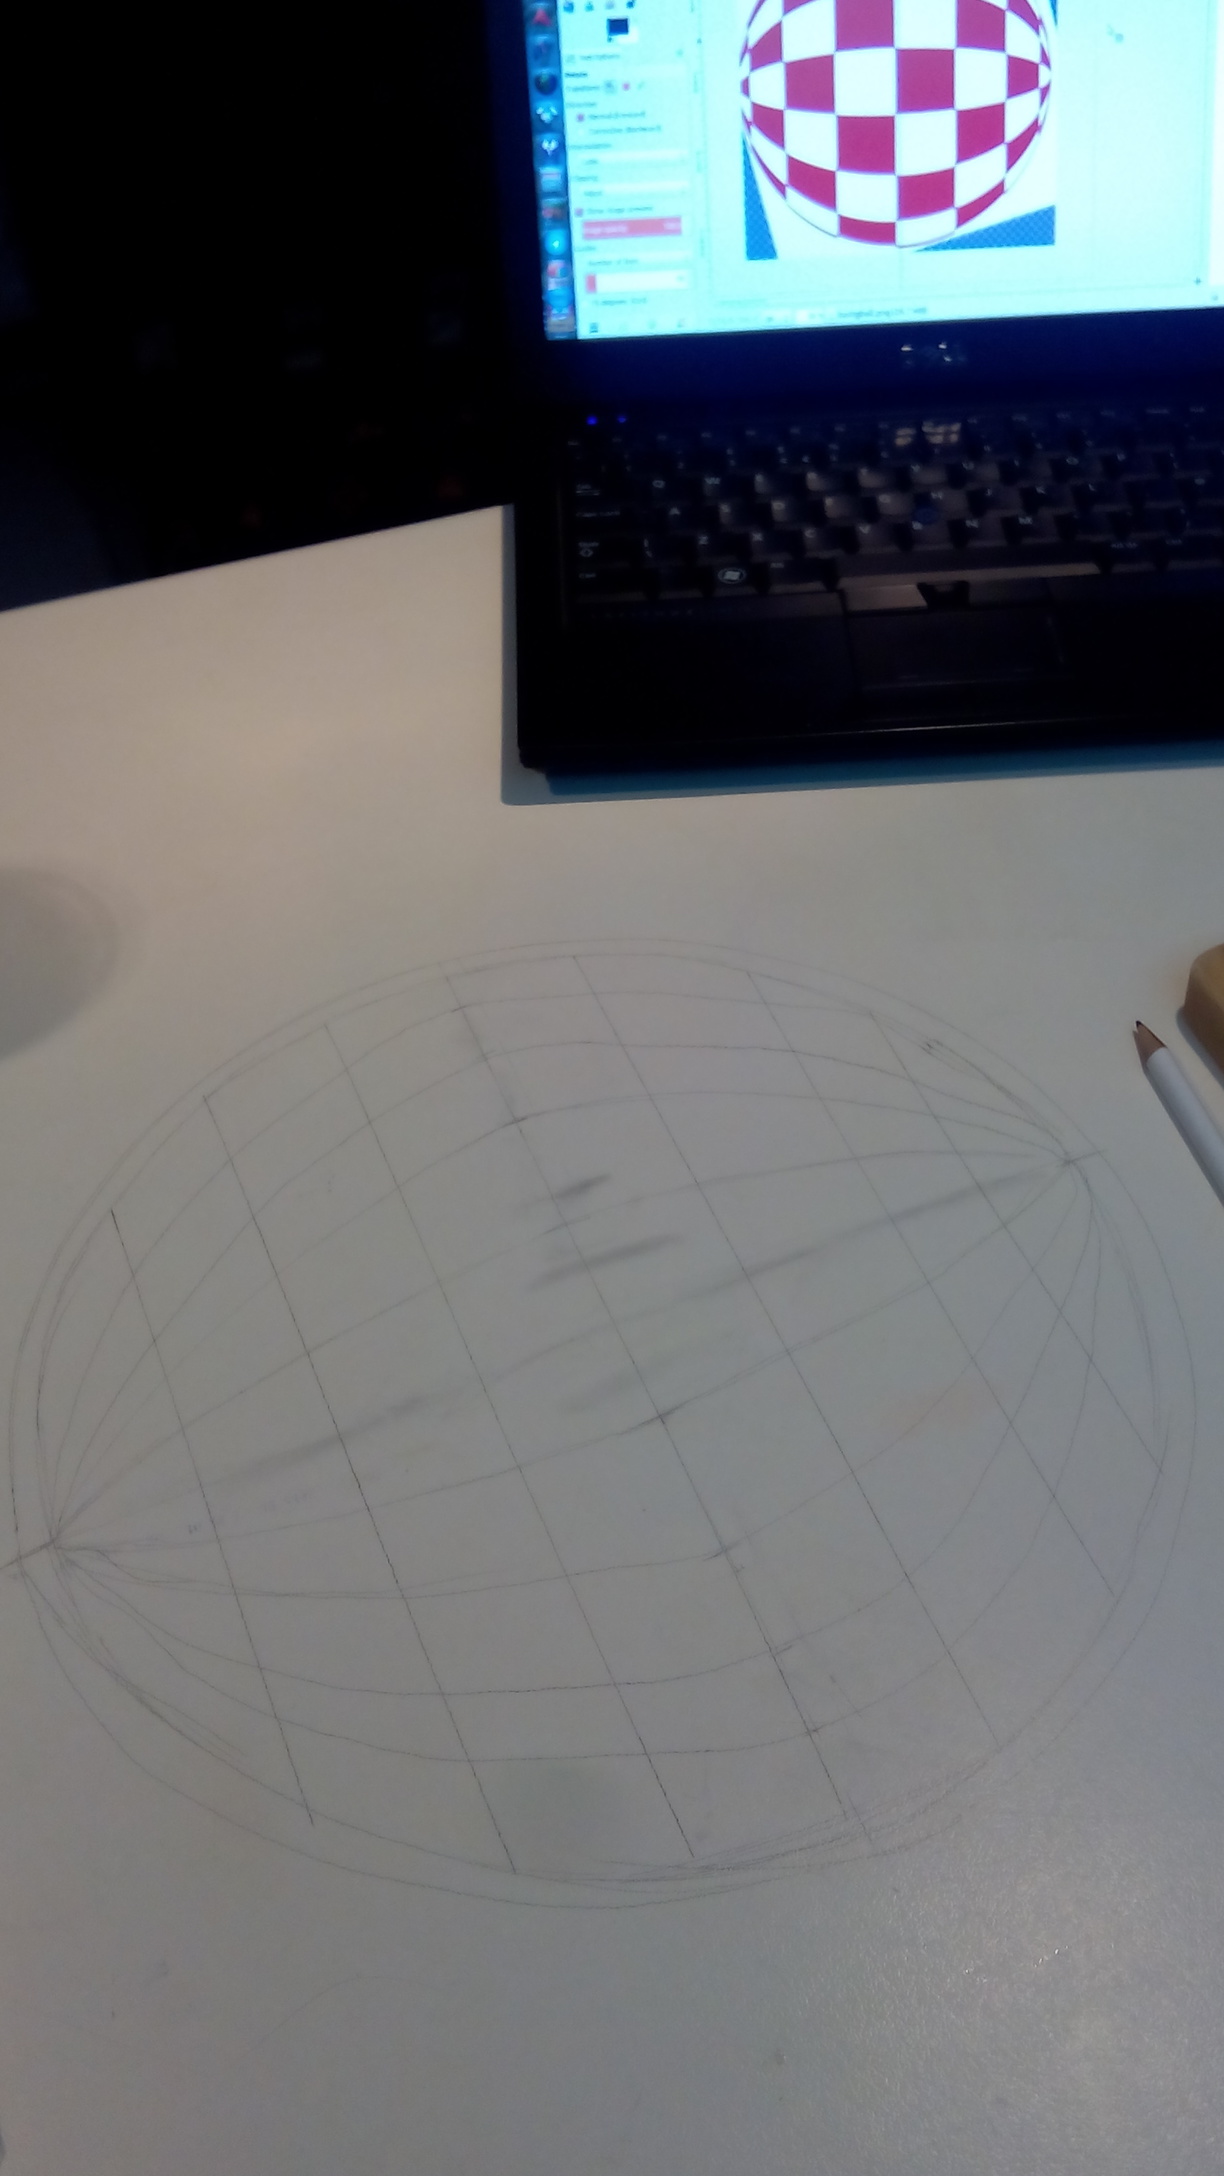
Step 7: Cover with clingfilm. We will be putting cheese pieces here and don’t want contact with the lead. The spaces that will remain red are marked with the letter ‘R’.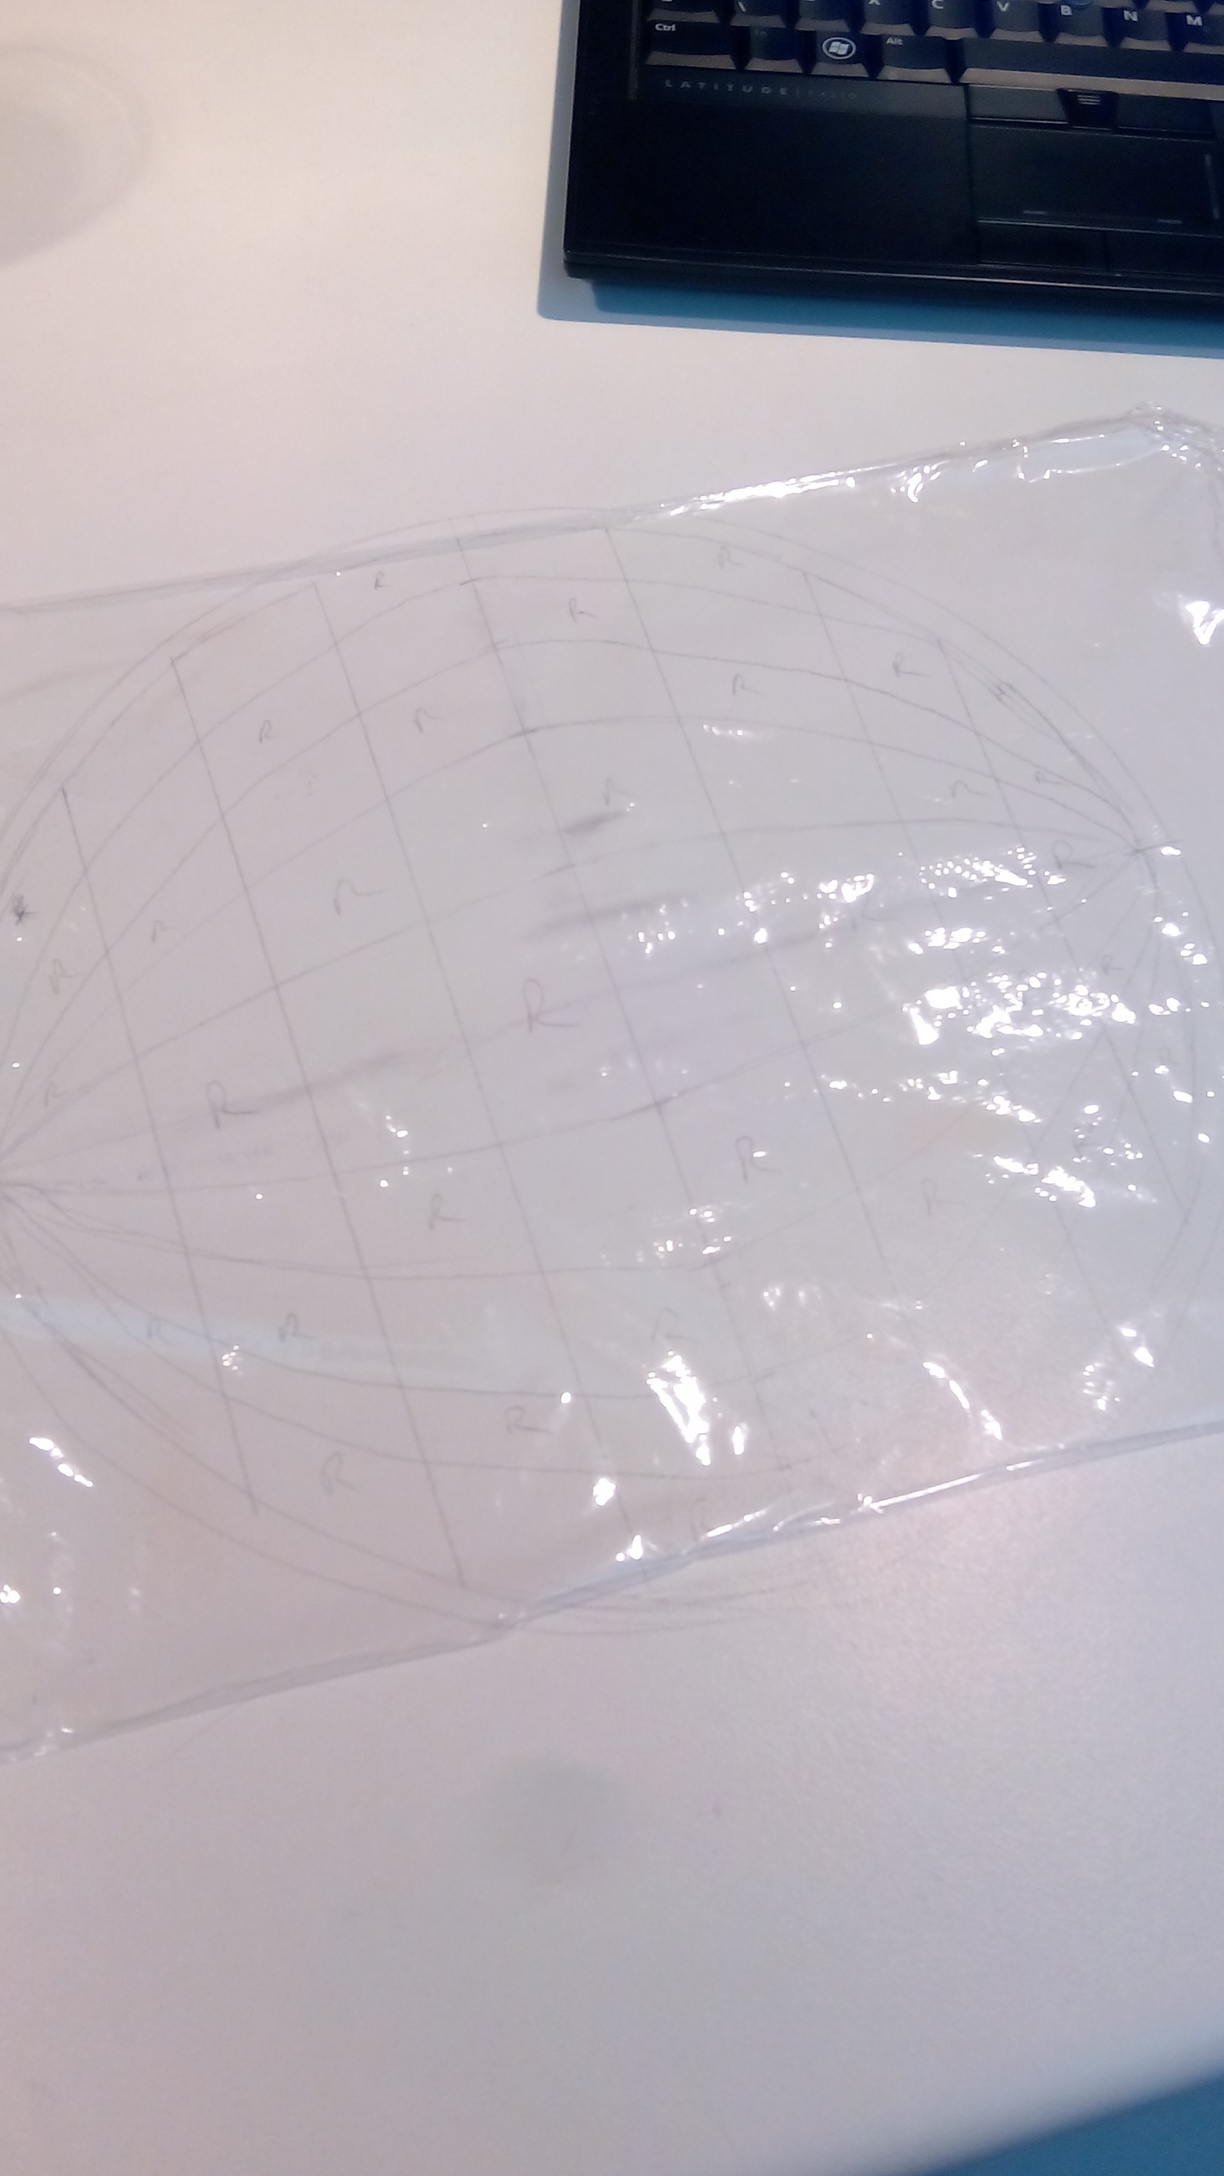
Step 8: Lay down a single slice of cheese so you can see the rest of the curves. This helps judging where to remove. Slice away any cheese covering a space marked ‘R’ and leave the rest. Add more cheese slices and continue until the entire circle is complete.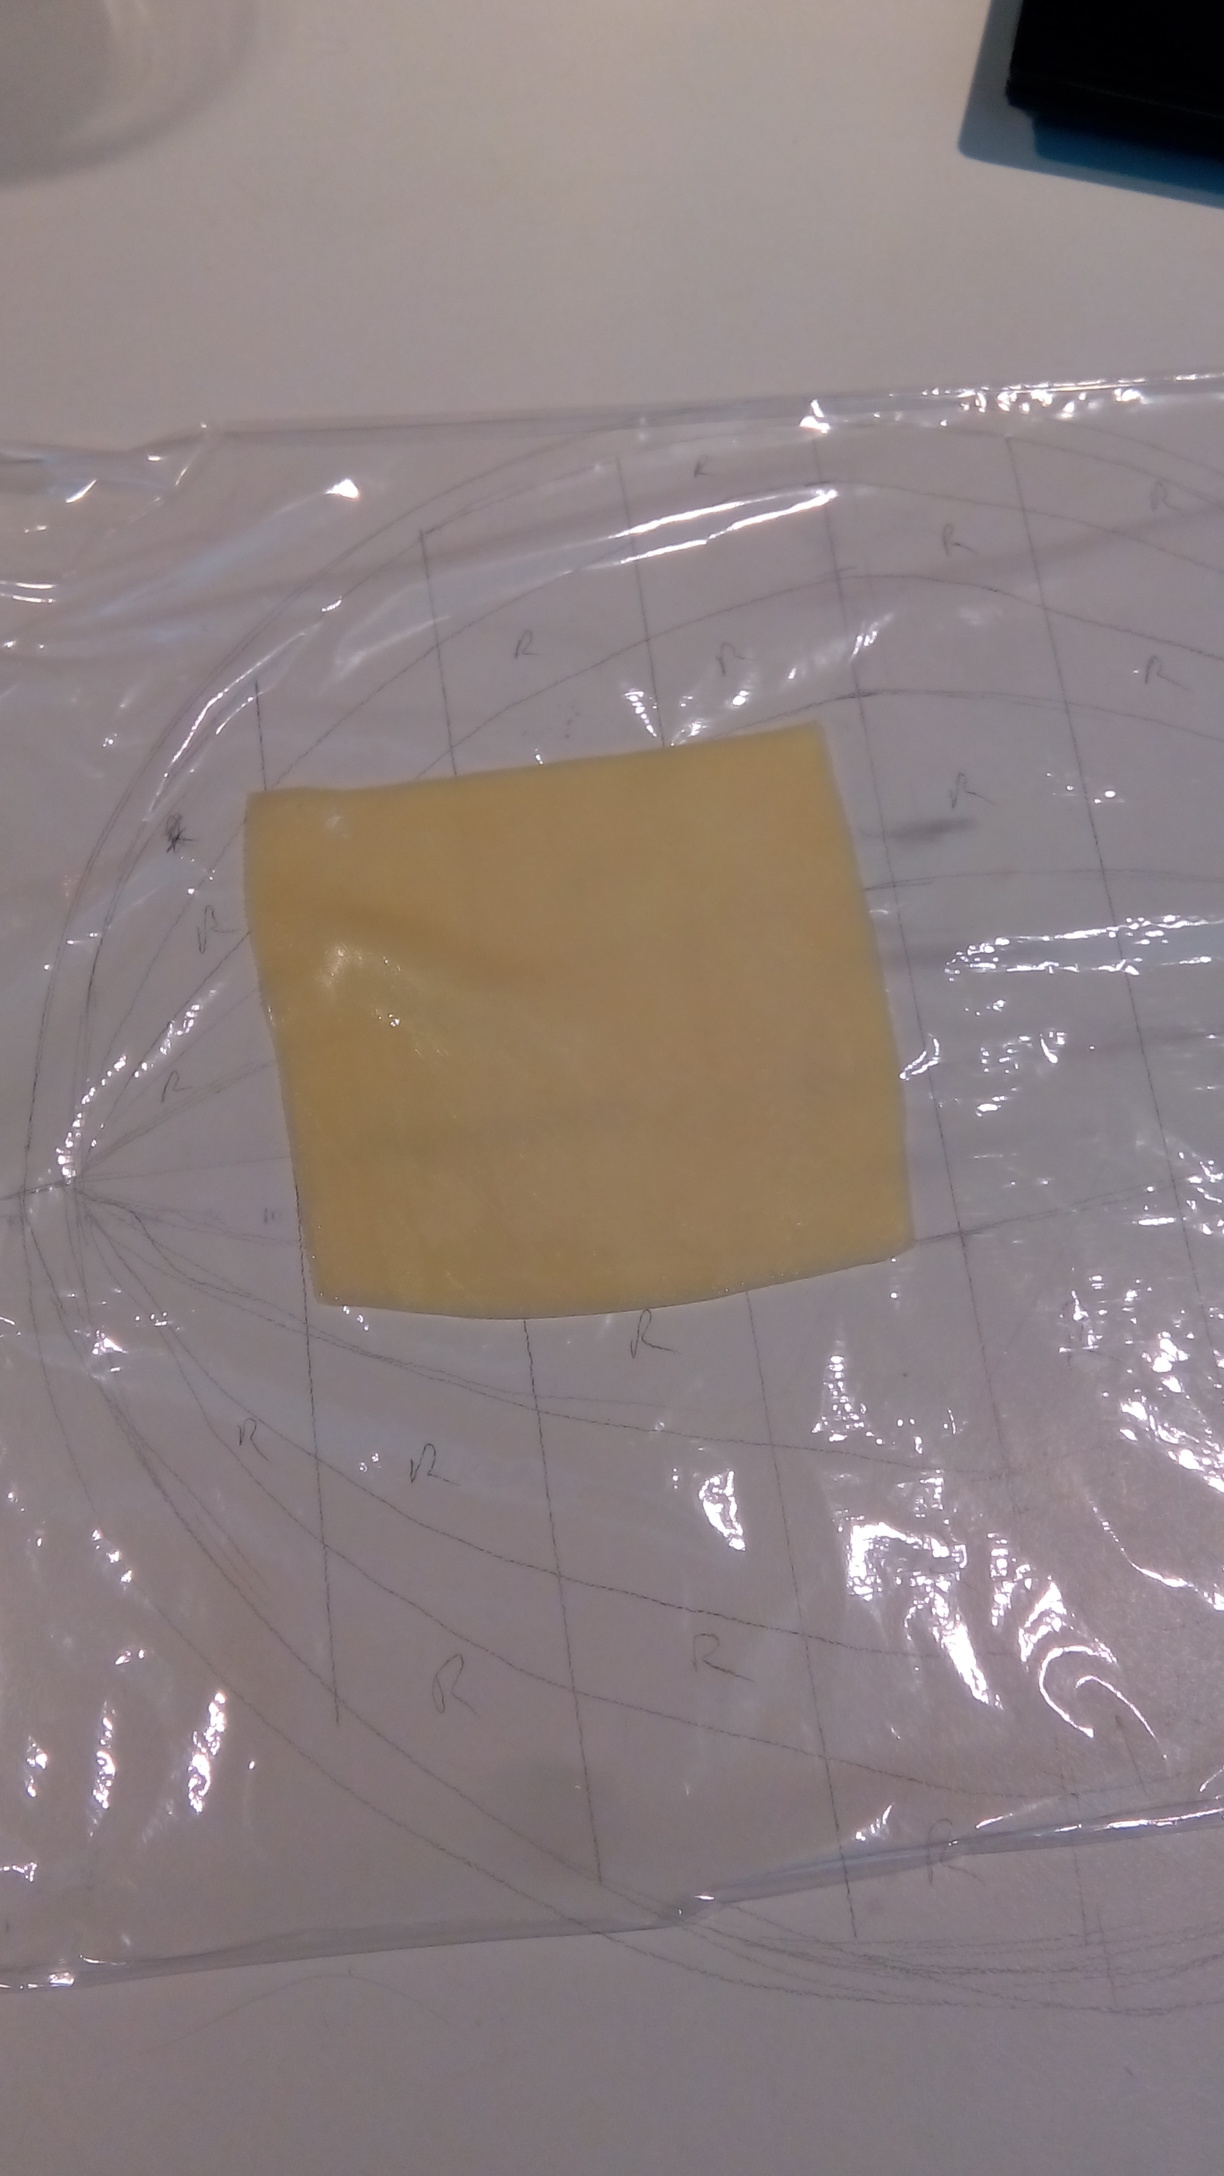
Step 9: Open your pizza and make sure it is completely red on top. You can use tomato sauce, but here we used chorizo.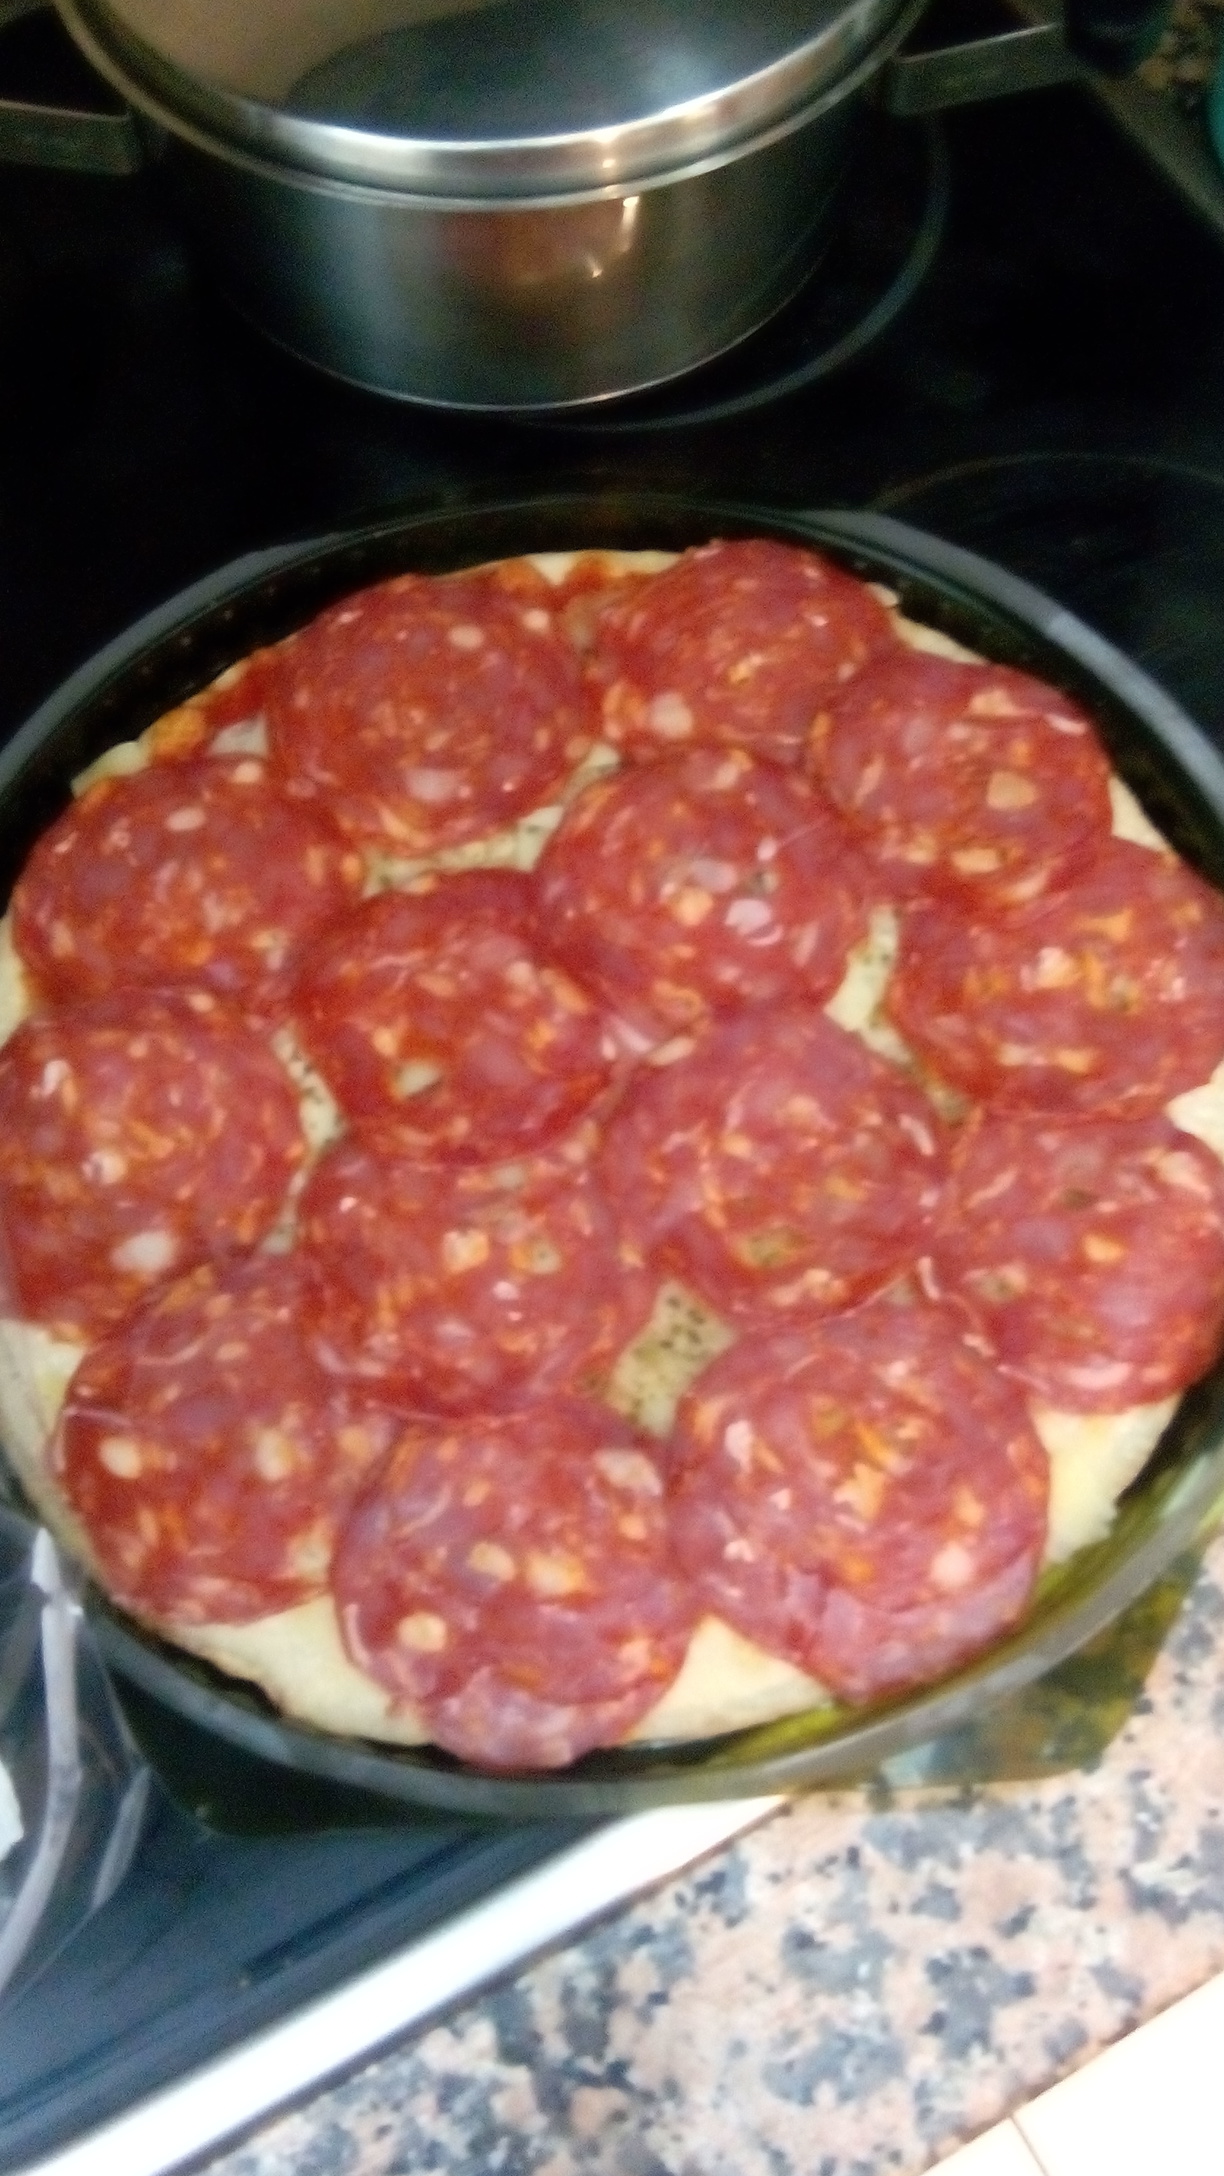
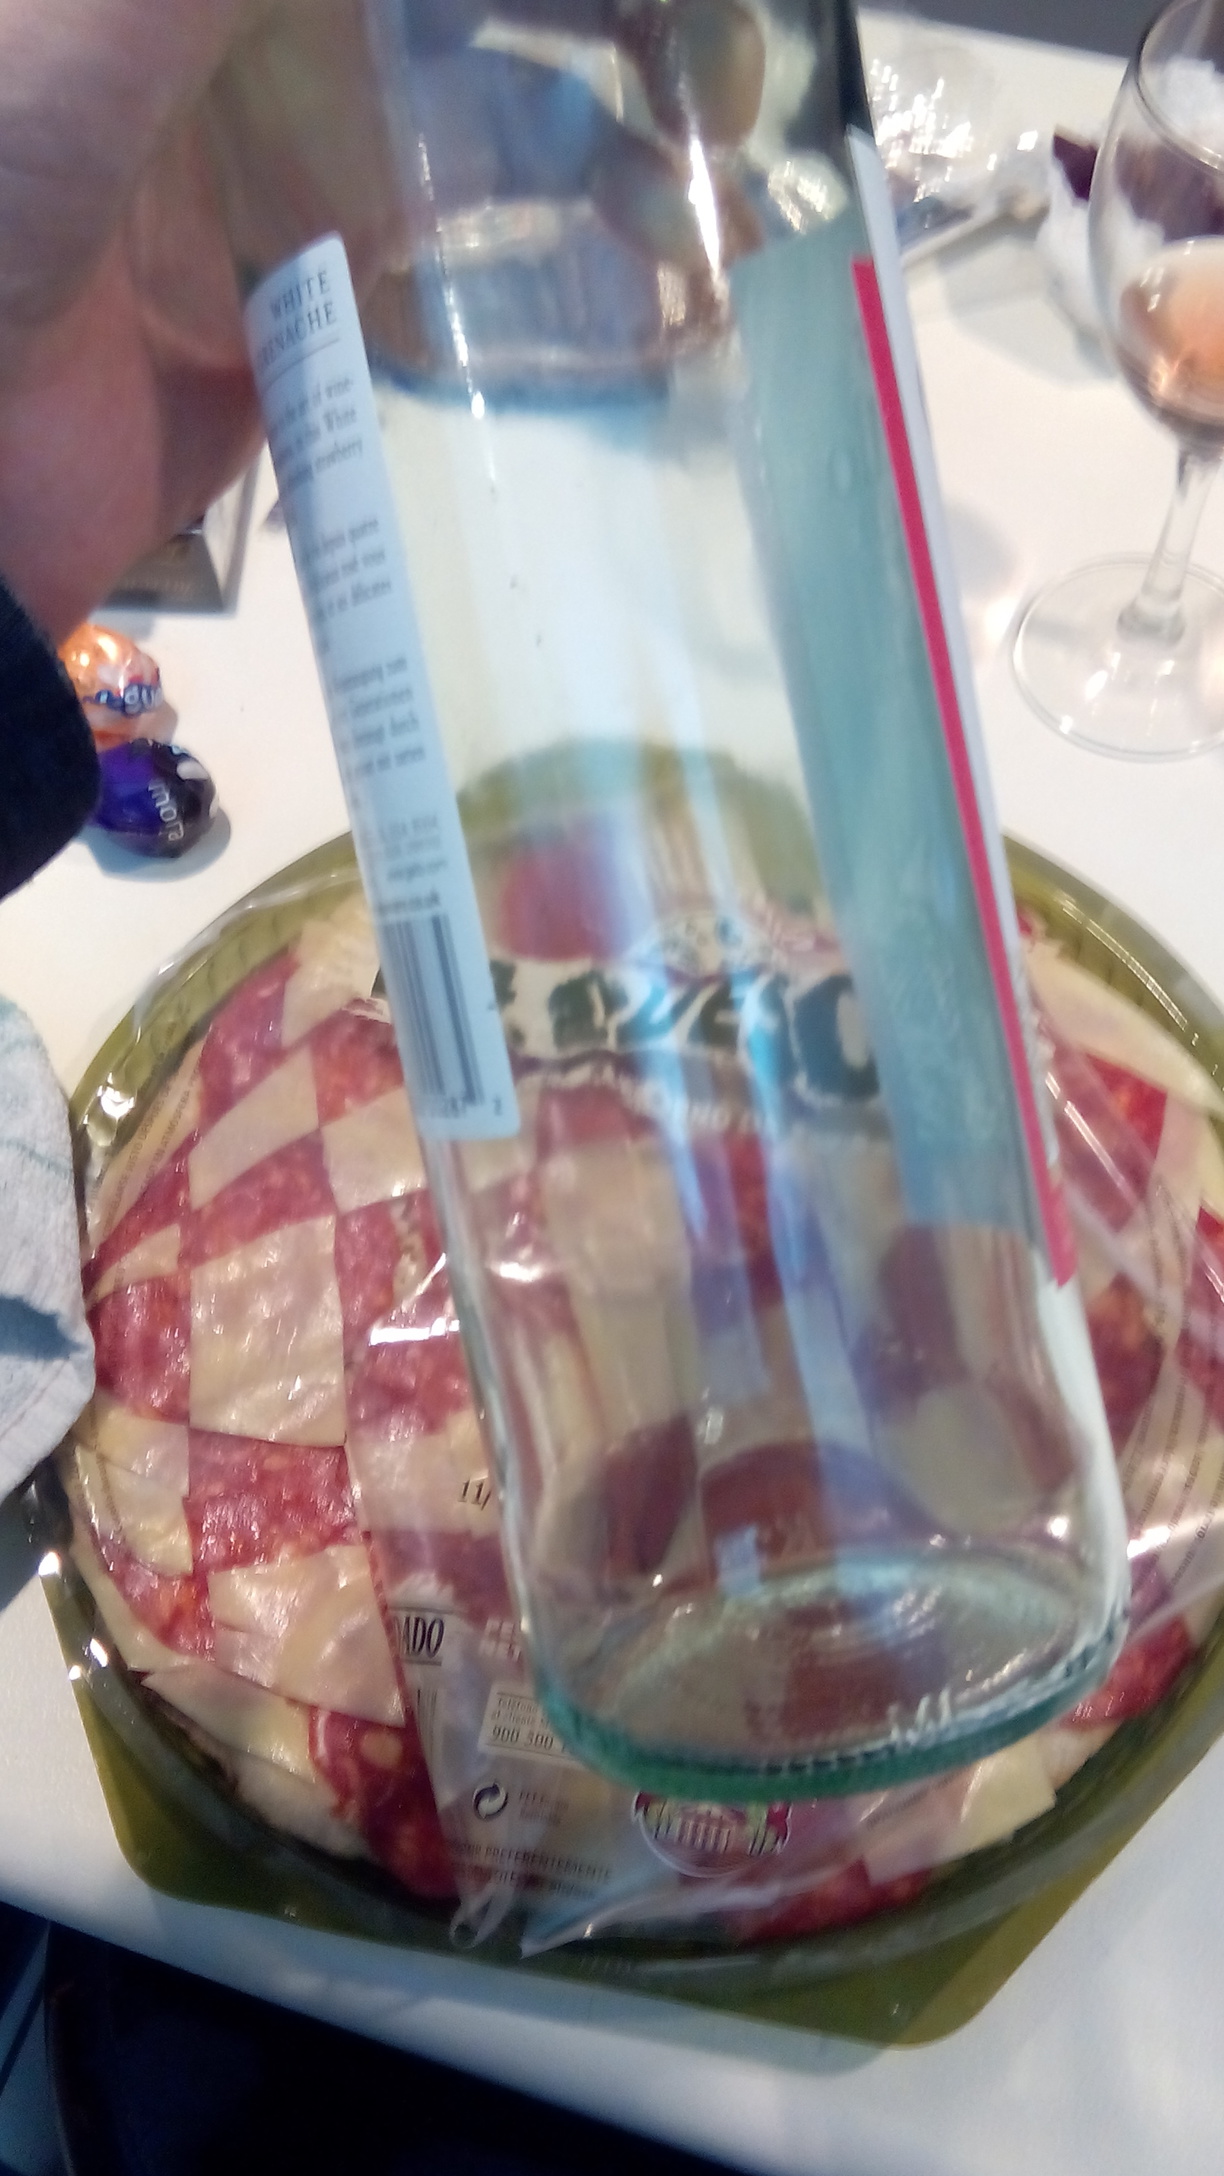
Step 10: Transfer the cheese pieces one at a time to the pizza. Tadaaa!! Congratulations, your AmiPizza is ready and there is still some wine left.
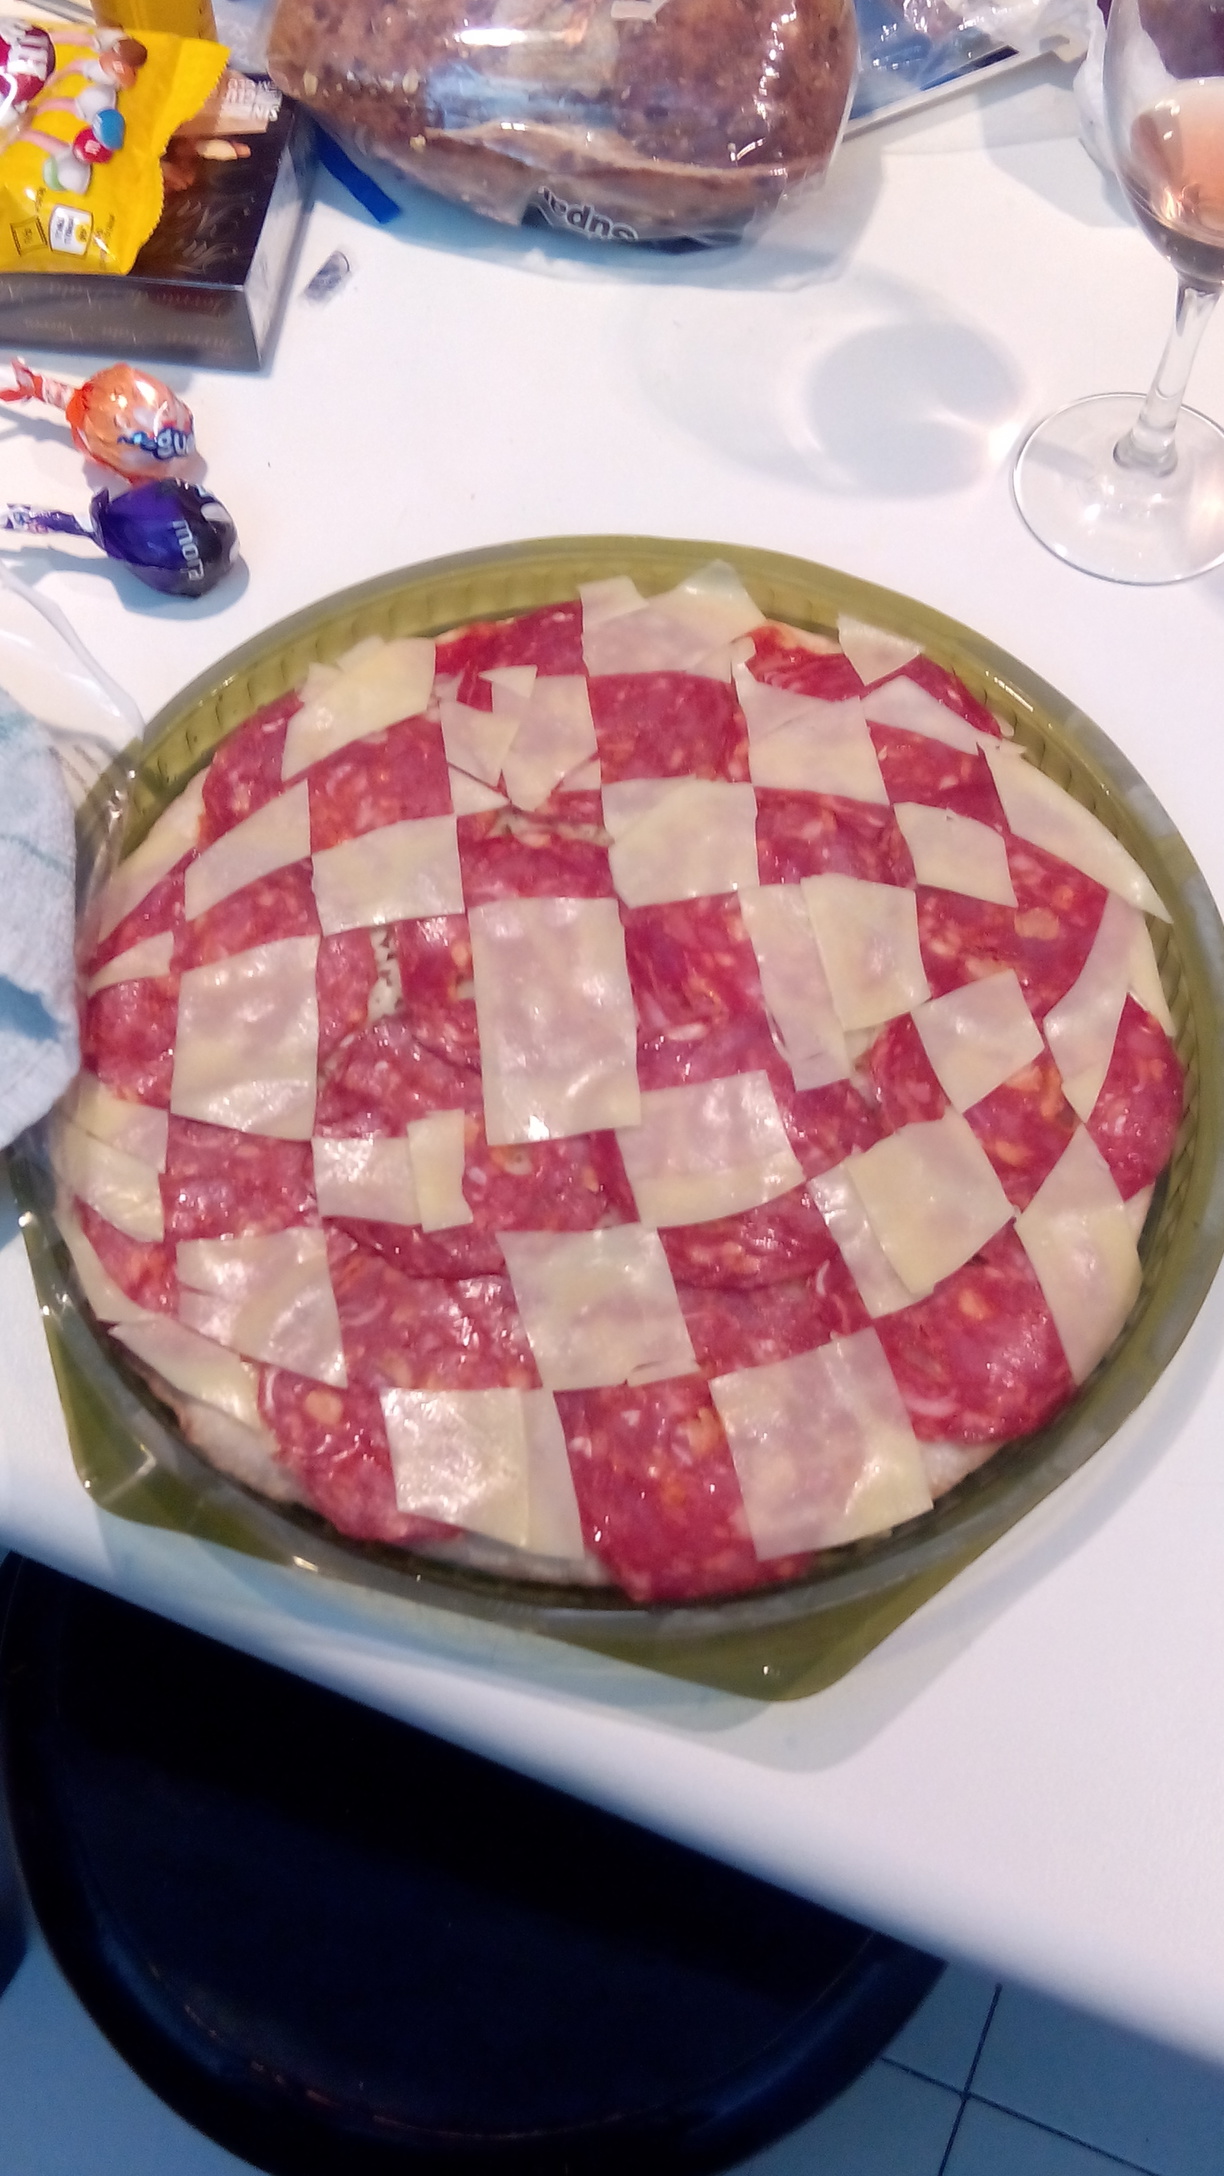
Step 11: But not enough 
